Here we go, my dear friend! Thank you for being here and for spending a few moments of your day reading my article.
I’m grateful for all of you.
Now, producing images or videos means having to store and organise them in a way that will make it easy to find any content quickly when needed.
Technology and software come in handy as they are a great way to catalogue what we create and most of them now offer more than an option to classify, sort and label images for future searches.
But, what is my workflow, from the day of the shooting till the moment I send the images to the model (and make-up artist) and I archive them?
Here we go, I’m telling you what I do.
This doesn’t mean it’s the best way to do it. On the contrary, it may even be the worst.
In the end, it depends on how each of us is used to organise stuff. It’s all a matter of mindset, I think.
So, when I’m in the studio, I always shoot tethered to my MacBook Air. I installed Capture One Pro, which allows me to have the images immediately transferred to my computer, saving me the time to download them from the SD card.
The big deal with Capture One is that I can create a session for each set.
Sessions do not add the images directly into the catalogue, but create a sort of standalone object containing the images and all the editing I do on them.
At the end of the set, I always reserve some time to let the model review what we did and I ask them to star the images so that I know which are the favourites.
When I go back home, I have to copy all the images to my Mac Studio, because that’s the place where I do my post-production.
And here is where Capture One sessions work great: I only need to copy the folder containing the session and it will automatically transfer also the editing (be it the rating or some general adjustments if I had to do them on location) into the other computer.
Pretty neat, isn’t it?
If, instead, I shoot outdoors, this process is not applicable and I will have to manually copy the images and rate them directly on the Mac Studio at home.
The pictures are now ready to be post-produced. Colour grading and light adjustments are done directly in Capture One. I find it very easy to use and very effective. When this part is finished, I export a tiff file into a temporary folder and do the final processing in Affinity Photo 2. This is where I do skin retouching and fix those details that would take longer or are not possible to be done in Capture One.
When everything is completed, I export the JPG file to its final destination folder.
It’s now time to add the images to the catalogue, so I re-import them into Capture One. This time, not as a session, but directly into the main catalogue. Here I will rate the ones that will go on my socials, the ones that will go on my website on the different pages and the others will just stay there as part of the archive. To do this, I use stars, colour labels and even keywords. This allows me to create smart albums that contain the images grouped with the logic I want.
Next, all the files that will go to my socials will be re-exported in a reduced size and sent to Apple Photos. This way I always have them ready to be posted on whatever platform.
Now, the Fujifilm GFX100S I’m currently using produces JPGs which are up to 80 MB each. Models don’t often need such big images, so I export them at a more usable resolution and size to another temporary folder and then send them via WeTransfer.
After they receive the files, I delete the temporary folder.
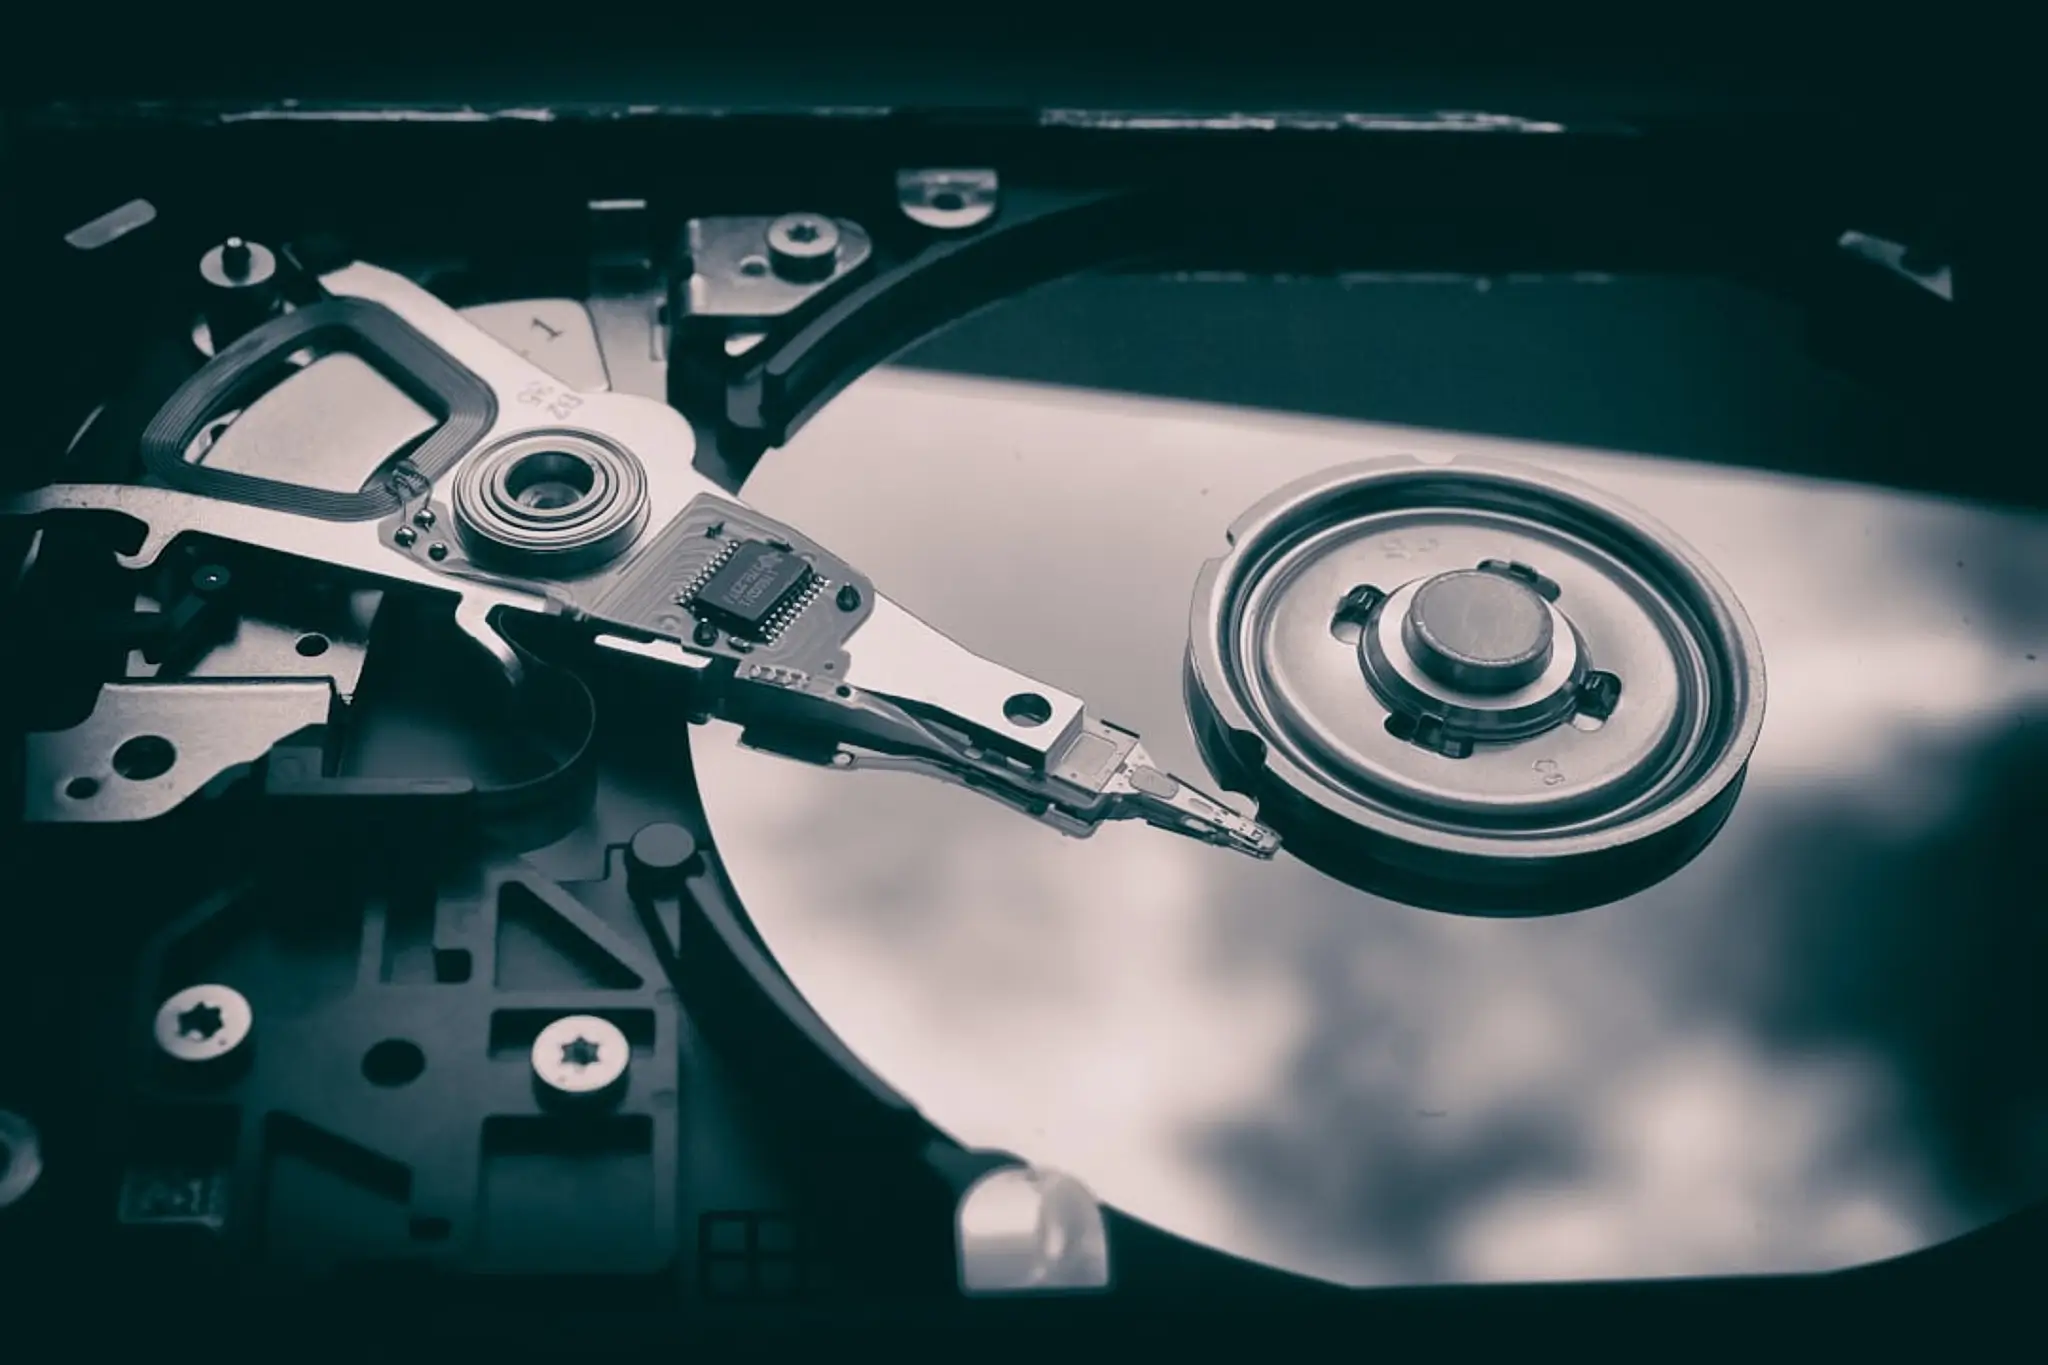
At this point, I have a copy of the images and the RAW files on my Mac Studio, which is always backed up to an external drive with Time Machine.
However, I want to be safe, so I copy JPGs and RAWs to my NAS, which has a RAID 1 setup (meaning there are 2 disks perfectly mirrored) and I send another copy to my Amazon Photos account. Since I have a Prime subscription, I can have unlimited space to store images.
This way I can be reasonably sure I will not lose anything: if my Mac stops working, my external Time Machine drive fails and even my NAS suddenly dies, I have a further copy of everything in the cloud.
After all the copies are completed, I delete the temporary folder where I stored the tiff files and delete the RAW images and the session from my Mac Studio. Finally, I can delete also the session from the MacBook Air, in case I shot in the studio, and format the SD card in the camera.
And I’m ready for the next one 😊
Take care and talk soon!